


Mercedes door handle repair is a skilled process for maintaining functionality and aesthetics. Tools and compatible parts are vital; specific requirements vary by side and model year. A step-by-step guide emphasizes safety precautions and details actions for both driver and passenger sides, encouraging regular vehicle inspections and professional services when needed.
Need to fix your Mercedes door handle? Whether it’s the driver or passenger side, this guide is your solution. We break down the intricate process of Mercedes door handle repair, providing a comprehensive overview for both sides. From understanding the repair process and necessary tools to step-by-step replacement instructions, we empower you with the knowledge to tackle this task effectively. Discover the expertise needed for a successful Mercedes door handle repair.
- Understanding Mercedes Door Handle Repair Process
- Tools and Parts Required for Driver vs Passenger Side
- Step-by-Step Guide for Each Side's Replacement
Understanding Mercedes Door Handle Repair Process

Understanding Mercedes Door Handle Repair Process
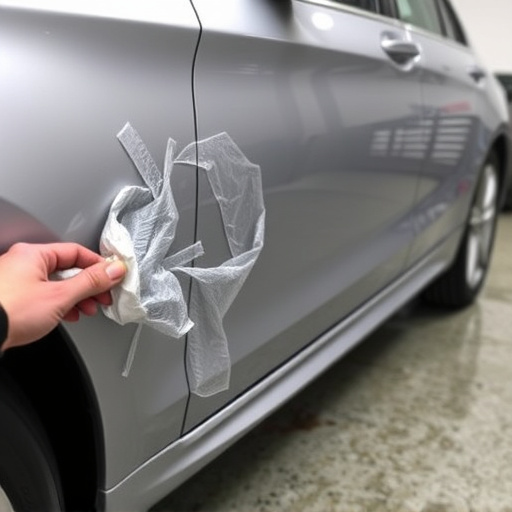
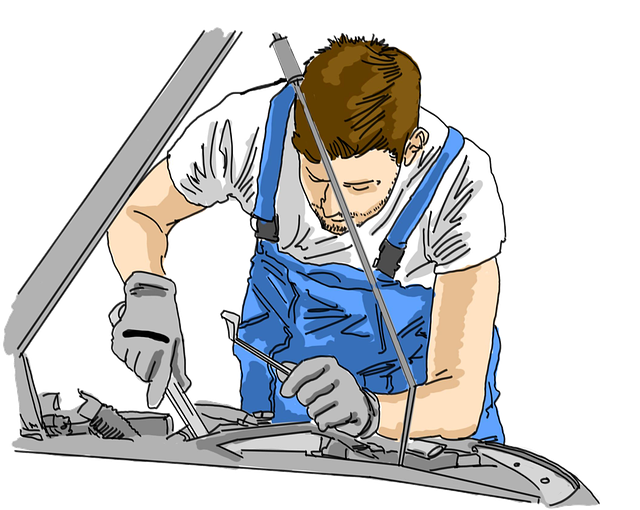
Mercedes door handle repair is a specialized task that requires precision and expertise. Whether it’s the driver or passenger side, the process involves several steps to ensure both functionality and aesthetic integrity. For the driver’s side, access might be more challenging due to its strategic placement, necessitating specific tools and techniques to reach and replace the handle without causing further damage. On the passenger side, while access is generally easier, the focus remains on ensuring a seamless fit and smooth operation.
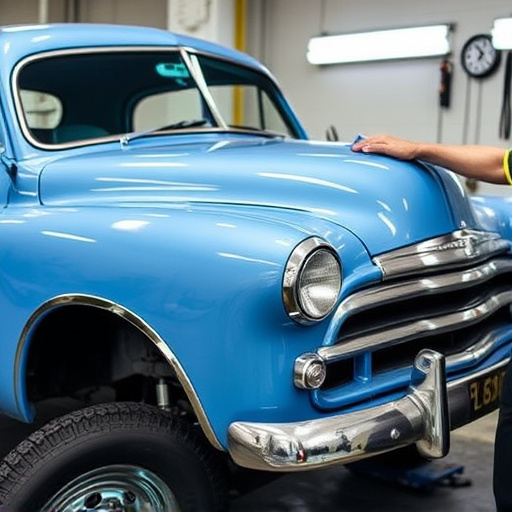
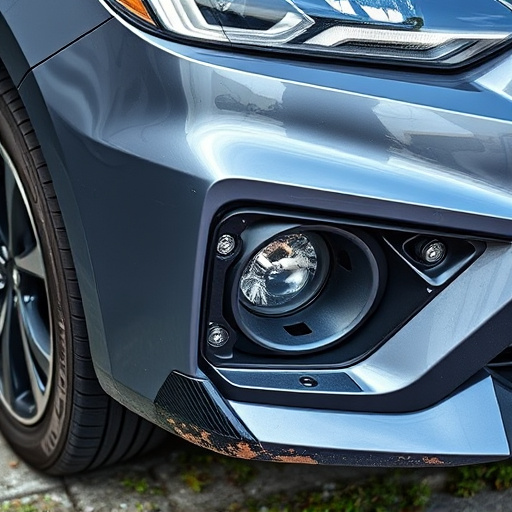
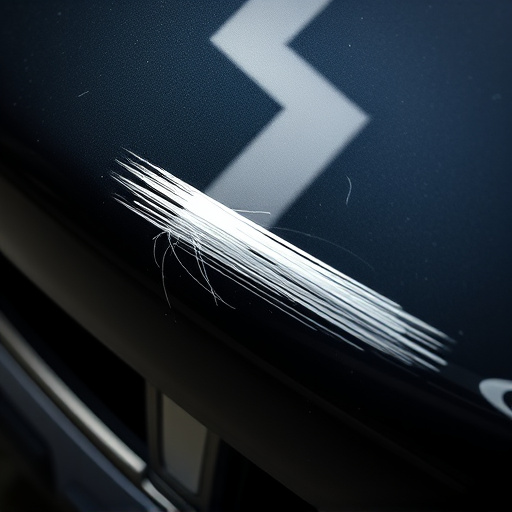
A fender bender or minor accident could cause these handles to malfunction or become damaged, requiring immediate attention. Auto painting services often come into play after repair, as they can restore the handle’s original finish, especially if it has been affected by rust or paint chips. Efficient Mercedes door handle repair not only fixes a practical issue but also maintains the car’s overall value and appearance, avoiding the need for extensive car paint repair in the future.
Tools and Parts Required for Driver vs Passenger Side

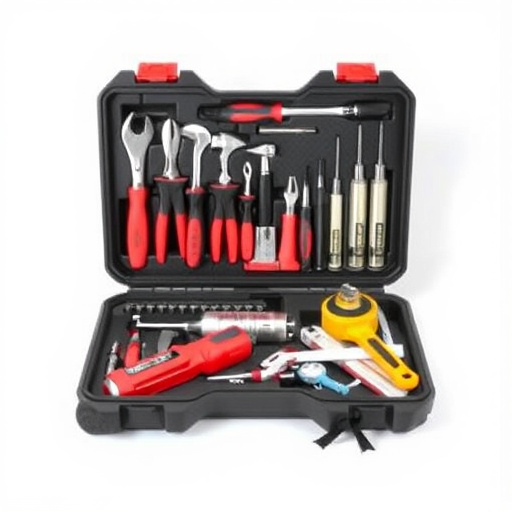
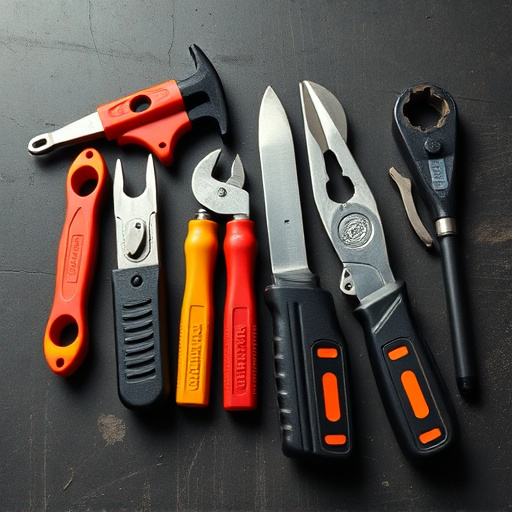
When undertaking a Mercedes door handle repair, whether for the driver or passenger side, there are specific tools and parts required to ensure a successful fix. For the driver’s side, essential tools include a flat-head screwdriver, a Phillips-head screwdriver, and a set of pliers. Common replacement parts are the exterior and interior door handles, along with the related hinges and seals. These components are crucial for maintaining both functionality and water tightness.
In contrast, the passenger side may require slightly different tools and parts depending on the specific model and year of the Mercedes. Tools such as a torque wrench and specialized handle removal tools can be beneficial. Replacement parts might include not only the visible door handles but also internal mechanisms like latches and lock assemblies. For fleet repair services or vehicle body shops dealing with multiple vehicles, having readily available, compatible parts is essential for efficient vehicle body repair.
Step-by-Step Guide for Each Side's Replacement

Step-by-Step Guide for Mercedes Door Handle Repair (Driver vs Passenger Side)
Driver Side:
1. Safety First: Park your vehicle on a level surface, engage the parking brake, and disconnect the negative battery cable to avoid any electrical shocks during the repair.
2. Remove the Trim: Using a flat-head screwdriver, carefully pry off the outer trim piece surrounding the door handle. Be mindful of any clips or fasteners that might secure it in place.
3. Access the Handle Assembly: Once the trim is removed, you’ll have access to the door handle mechanism. Identify the individual components, including the inner and outer handles, spring, and pin.
4. Demontage: Start by detaching the inner handle from its mounting bracket using the appropriate tool. Next, remove the old seal and pull out the damaged door handle assembly.
5. Installation: Insert the new handle assembly, ensuring proper alignment. Reinstall the seal and secure the inner handle back to its bracket with the correct fasteners.
6. Reassembly & Testing: Put back on the outer trim piece, double-checking all connections. Test the newly repaired driver’s side door handle to ensure smooth operation.
Passenger Side:
1. Preparation: Follow the same safety precautions as the driver’s side. Disconnect the negative battery cable and secure your vehicle in a safe location.
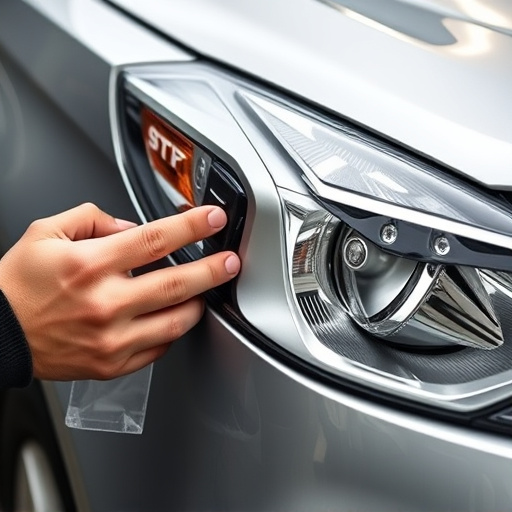
2. Trim Removal: Utilize the appropriate tools to carefully remove the passenger-side trim panel, revealing the door handle assembly beneath.
3. Disassembly & Inspection: Demontage of the passenger handle follows a similar process as the driver’s side. Examine the components for any signs of damage or wear.
4. Replacement: Install the new passenger door handle assembly, replacing any worn parts. Ensure all components are properly aligned and secured.
5. Final Touches: Reattach the trim panel and test the operation of the newly replaced passenger side door handle before driving.
Remember that proper auto maintenance includes regular inspections, so don’t hesitate to visit a collision center for professional vehicle dent repair or other necessary services if encountering persistent issues with your Mercedes door handles.
Mercedes door handle repair is a task that can be accomplished with the right tools and knowledge. Whether repairing the driver or passenger side, understanding the process and having the necessary parts makes it a manageable DIY project. By following the step-by-step guides and ensuring compatibility, you can effectively replace damaged door handles, extending the life of your Mercedes and saving costs on professional repairs. Remember, proper maintenance is key to keeping your vehicle in top condition.